 Pin it
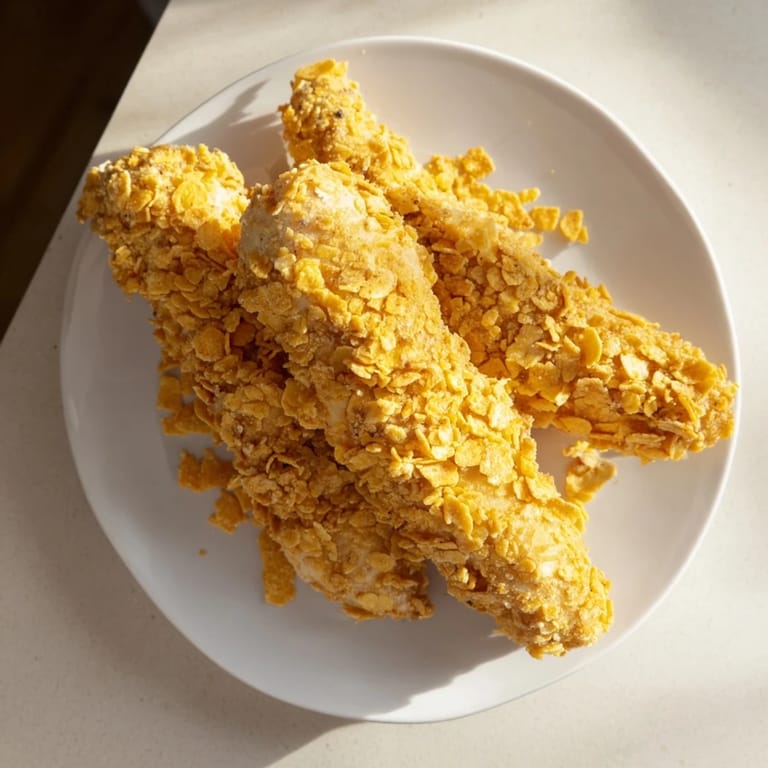
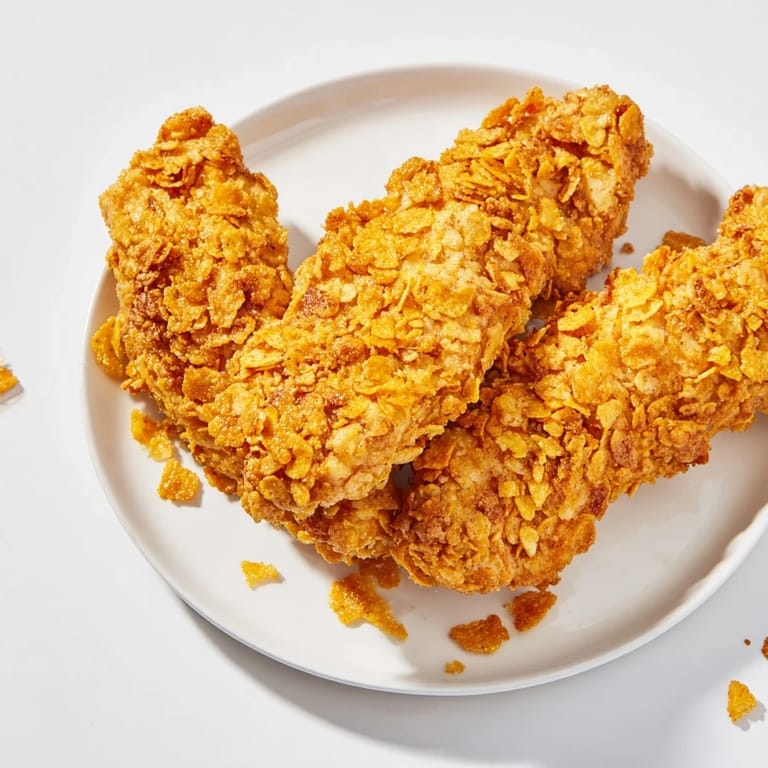
 The first time I made these, my kitchen smelled like a snack aisle had exploded in the best way possible. I was standing at the counter with a bag of Funyuns in one hand and a half-formed idea in the other, thinking there had to be a way to make chicken tenders taste like the guilty pleasure snacks we all secretly love. Twenty minutes later, golden-brown pieces were coming out of the oven, and my whole family stopped what they were doing. These aren't just chicken tenders—they're a flavor bomb wrapped in something that tastes like childhood and fun.
I made a batch for my son's basketball team one season, and watching twelve teenage boys fight over the last piece told me everything I needed to know about this recipe. One kid asked if it was something fancy I'd ordered from somewhere special, and I couldn't help grinning when I told him it was literally made from junk food. He came back for thirds.
Ingredients
- Chicken tenders: Buy them frozen or fresh—either works beautifully. The key is patting them completely dry so the coating sticks instead of sliding off during cooking.
- Onion-flavored chips: Funyuns are the classic choice, but any crispy onion snack works. Don't use the delicate kind that dissolve on your tongue—you want something sturdy.
- Cheese-flavored chips: Cheddar crisps or those puffy cheese snacks from the vending machine are perfect. The combination of onion and cheese is what makes this sing.
- All-purpose flour: This is your base layer and helps everything stick. Don't skip it even though you're using chips.
- Eggs and milk: Mixed together, these become your glue. The milk thins the egg slightly so it coats evenly.
- Garlic powder, paprika, salt, and pepper: These season the flour layer and add depth so it doesn't taste one-note.
Tired of Takeout? 🥡
Get 10 meals you can make faster than delivery arrives. Seriously.
One email. No spam. Unsubscribe anytime.
Instructions
- Get everything ready:
- Heat your oven to 425°F or air fryer to 400°F. Line your baking sheet with parchment paper or give your air fryer basket a quick spray of cooking oil. This single step is what prevents you from scraping burnt coating off the pan later.
- Crush your chips:
- Pour the onion and cheese chips into a food processor and pulse until you have coarse crumbs—you want some texture, not fine powder. If you don't have a food processor, seal them in a zip-top bag and smash with a rolling pin or your hands. It's honestly kind of satisfying.
- Set up your stations:
- Arrange three shallow dishes in a line: flour mixed with garlic powder, paprika, salt, and pepper in the first; egg whisked with milk in the second; crushed chips in the third. Having everything organized makes the next steps feel easy instead of chaotic.
- Prepare the chicken:
- Pat each tender completely dry with paper towels. Moisture is the enemy of crispiness, so don't be shy about this step.
- Coat each tender:
- Dredge a tender in the seasoned flour, shake off the excess, dip it into the egg mixture until covered, then press it firmly into the crushed chips. Use your fingers to really press the coating on so nothing falls off during cooking. This is where the magic happens.
- Arrange and cook:
- Place each coated tender on your prepared baking sheet or air fryer basket in a single layer—don't crowd them or they'll steam instead of crisp. Bake for 16-18 minutes or air fry for 10-12 minutes, flipping halfway through, until the coating is deep golden brown and the internal temperature hits 165°F.
- Rest before serving:
- Let them sit for 2 minutes after cooking. This lets the coating set and keeps the inside juicy.
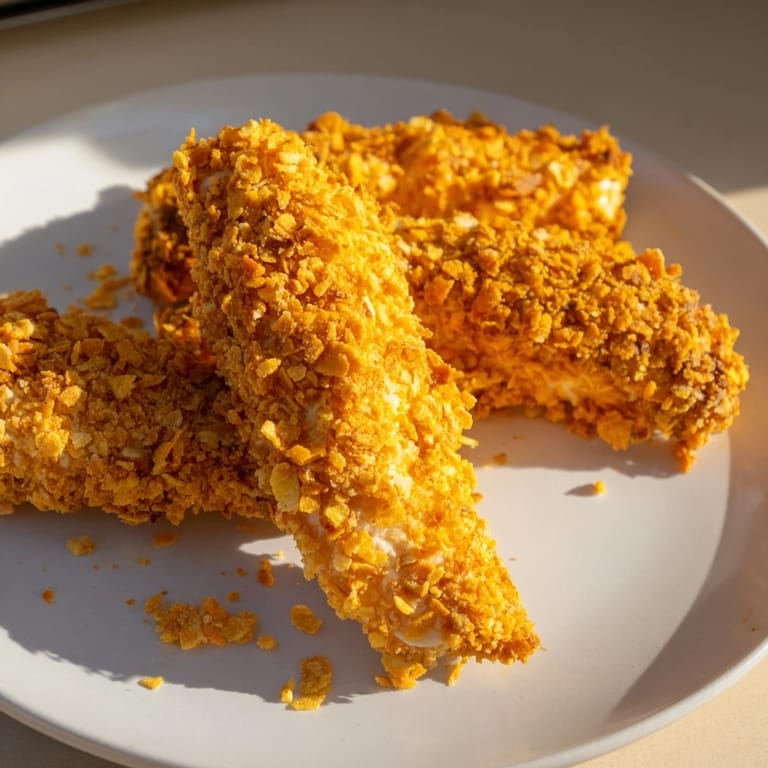
 Pin it
 There's something quietly wonderful about watching someone bite into one of these and realize it actually tastes like the snack name on the coating. It's the moment they understand that great food doesn't have to be complicated—sometimes it just needs to be fun and thoughtfully put together.
Why This Works Better Than You'd Expect
Chip coatings are genius because they're already seasoned and fried, which means they bring instant flavor and crunch without any additional effort. When you crush them into the chicken, you're not just adding texture—you're adding the memory of eating snacks with your hands, which somehow makes everything taste better. The egg and milk mixture acts as cement, holding those crushed pieces exactly where they need to be.
The Best Dipping Sauces to Serve Alongside
Ranch dressing is the obvious choice, and it's perfect because it doesn't compete with the onion and cheese flavors. Honey mustard brings a bright sweetness that surprises people. Smoky BBQ sauce grounds the whole thing and makes it feel more grown-up. I've also had people dip them in sriracha mayo, which is bold and a little spicy. Let everyone at your table choose their own adventure.
Making Them Work for Different Situations
These are flexible in ways that feel almost unfair. Make them ahead and reheat them in a 350°F oven for 5 minutes to bring the crunch back. Freeze the coated tenders on a baking sheet before cooking, then bake straight from frozen—just add a couple extra minutes. They're equally good hot right out of the oven or cold from the fridge the next day. For a spicy version, mix cayenne pepper into your flour. For gluten-free, swap the flour and chips for gluten-free versions and they come out just as good.
- Leftovers keep for three days in an airtight container and reheat beautifully in an air fryer.
- You can make these ahead through the coating stage, refrigerate overnight, and cook them the next day.
- Double or triple the batch without any changes to timing—they'll all cook evenly as long as you don't stack them.
 Pin it
 This recipe is proof that the best food ideas often come from just playing around in the kitchen and trusting your instincts. I hope these become a regular thing at your table too.